Implementation
Step 1: Add a Time Frame
To add a forwarding rule into your routing, you will need to make a Time Frame. To do so…
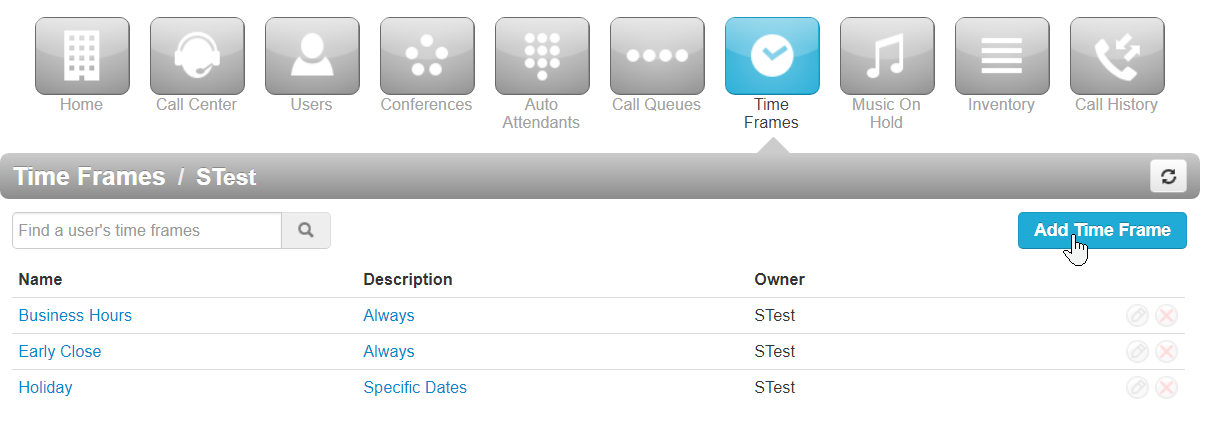
- Navigate to the Time Frames page.

- Click the Add Time Frame button.
- Name the time frame you are creating something that is easily identifiable, in this case Temp Forward.
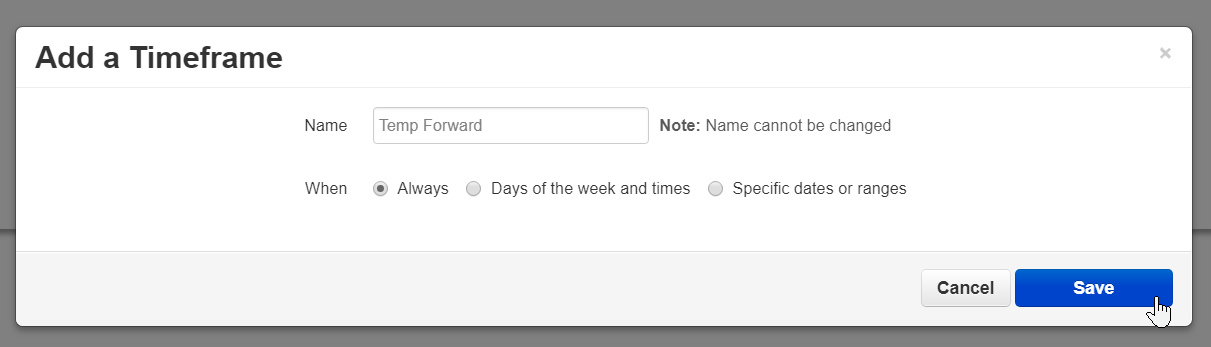
- Select When the time frame should be active.
- If you would like to Toggle the forwarding off and on, select Always.
- If this forwarding should be recuring, select Days of the week and times, and set the days and times for the forwarding.
- If this forwarding is for a certain date, select Specific dates or ranges.
- Click the Save button.

Step 2: Create an Answering Rule for the Routing
Now that the Timeframe is created, we will need to apply it to the answering rules of the user that will need the forwarding.
Find the Destination of a Number
- Navigate to the Users page.

- In the search bar, type either the name or extension number associated for the user.

- Click the Edit icon and select Answering Rules.
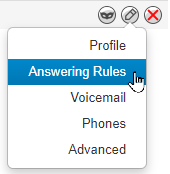
✔ Doing so will pull up the user's Answering Rules tab.
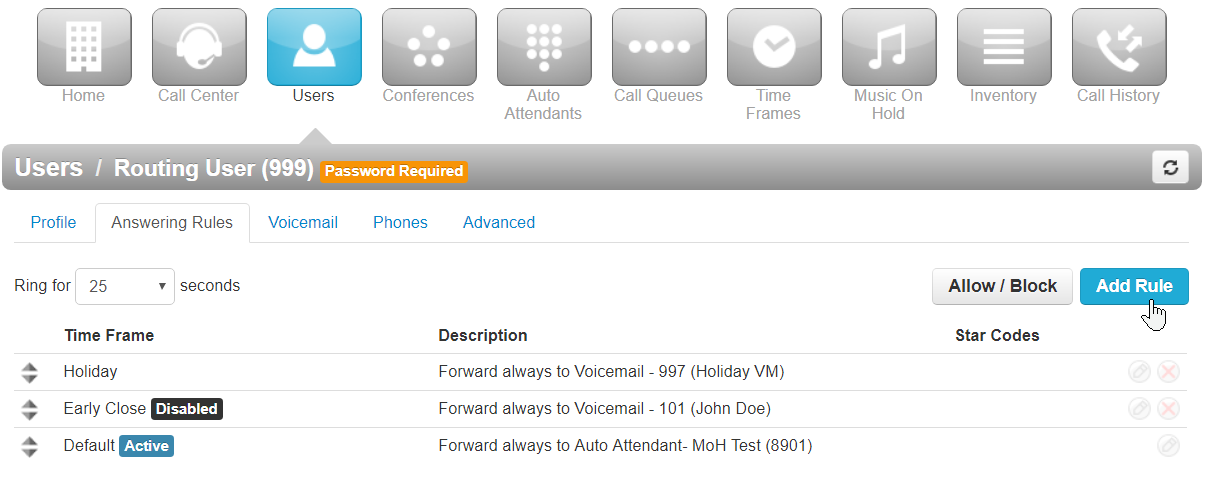
- Click the Add Rule button.

✔ The Add an Answering Rule modal will appear.
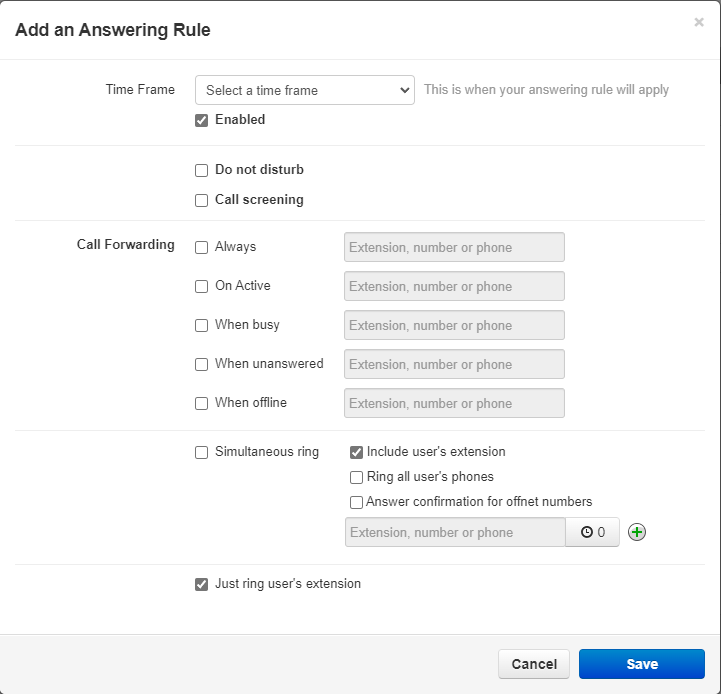
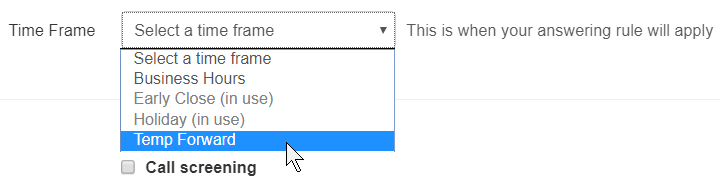
- Using the Time Frame drop-down, select the time frame for forwarding.
- If this forwarding should not yet be active, click the Enabled box to disable the forwarding for now.

- In the Call Forwarding section, select Always and type the destination for the forwarded calls in the box.
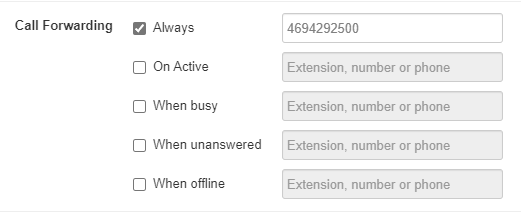
Quick Tip: An extension number, phone number, auto attendant, etc. can be typed in as the destination.
- Click the Save button.

- Reprioritize the answering rules to ensure the forward is above the business hours rule:

- When it comes time to enable the forwarding, click Edit
 icon and select the Enabled box.
✔ When enabling forwards, it is recommended to give your number a test call to esnure the forwarding is set correctly.