Record Calls on the App
WARNING: Some countries and states impose laws and regulations on recording calls.
We recommend requesting consent from call participants before recording any call. It may also be a good idea to have a message set up for your organization that warns callers that their call may be recorded.
Please consult with the regulatory experts in your company before using this feature. To implement any warnings for your callers, contact our technical support team.
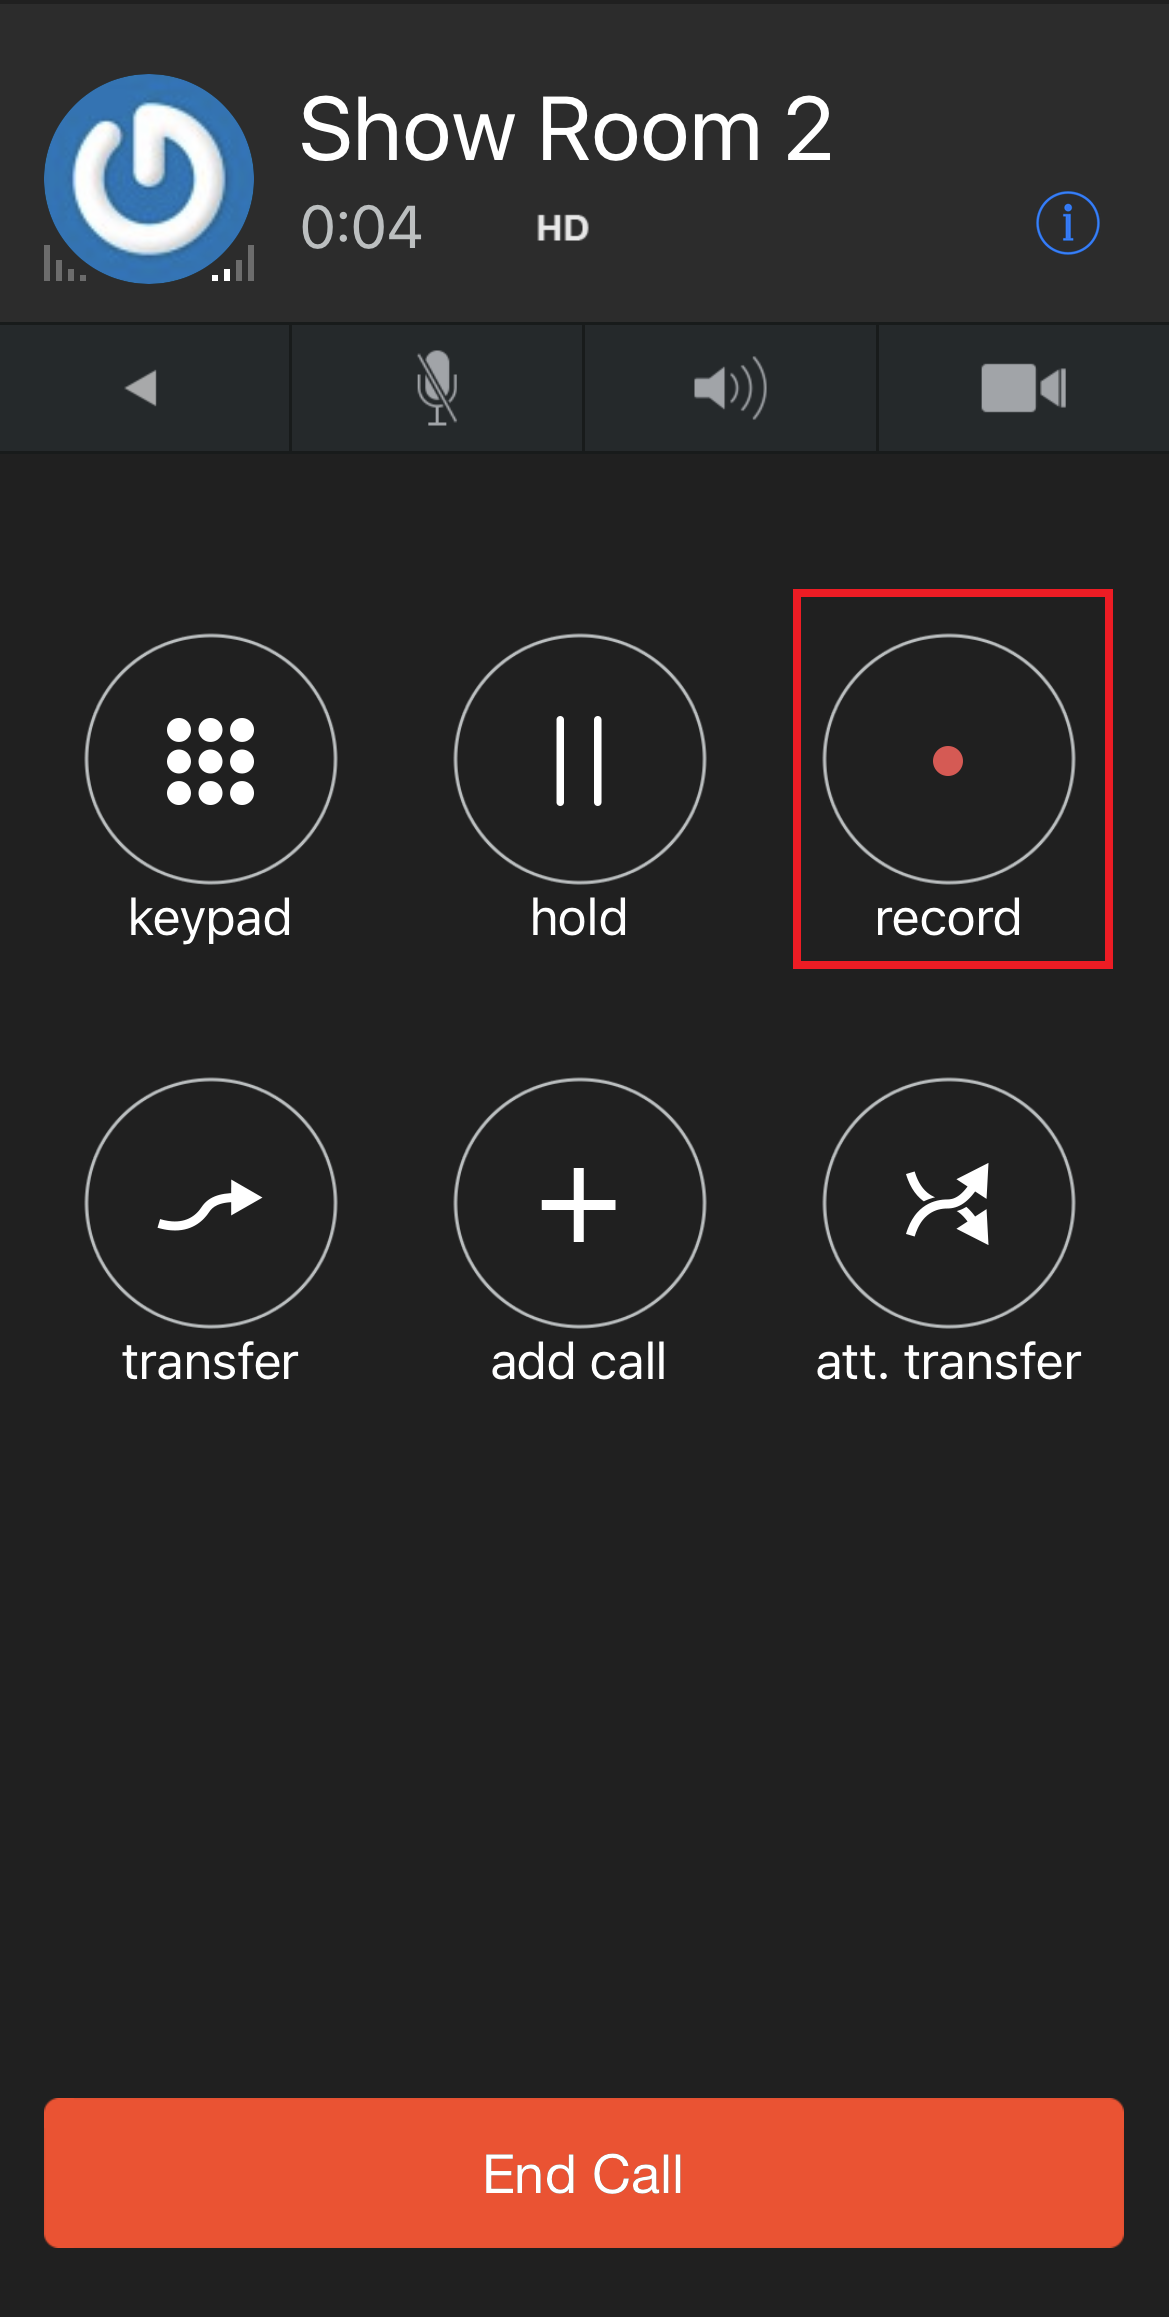
To start recording an active call, tap the record  button on the call screen. Touch this icon again to stop the recording.

View and Manage Recordings
Once the calls are recorded, you can retrieve them in the History  tab.
tab.
To access a call recording:
- Touch the History
 tab.
tab. - Touch the Information
 icon beside the name or phone number you want to retrieve the recording.
Quick Tip: The Recording
 icon shows that the call log has recording(s).
 - Touch the Play Record
 (1) button to listen to the recording.
 - Touch the Pause
 button to pause the recording.
 - To manage the recording, touch the Settings
 (2) icon on that recording entry.
A list of recording settings will display:- Delete - Deletes the recording.
- Send By Email - Sends the recording to someone else using email.
- Share - Sends the recording to someone else using other applications.
- Prevent Deletion - Keeps the recording from being deleted by the auto-delete duration setting.
Lock Recordings
When an auto-delete recording duration is set, the recordings are deleted once expired. However, by enabling Prevent auto-delete you can lock some important recordings to exclude them from being deleted.
To lock the recording from being deleted:
- Touch the History
 tab.
tab. - Touch the Information
 icon beside the name or phone number you want to retrieve the recording.
 - On that recording entry, touch Settings
 → Prevent Deletion.
✔ A lock (1) will display on the entry to indicate it is excluded from being deleted.
Quick Tip: To unlock the recording, tap Settings
 (2) → Allow Deletion (3).