Managing a Call Queue's Agents
The Call Queues page allows you to Add, Convert, Edit, and Delete agents from call queues.
From the Call Queues page, hover over the call queue, and then click the  to the right of the queue to add an agent or manage that queue's current agents.
Add an Agent
- Click the Add Agent button to make the following settings appear:
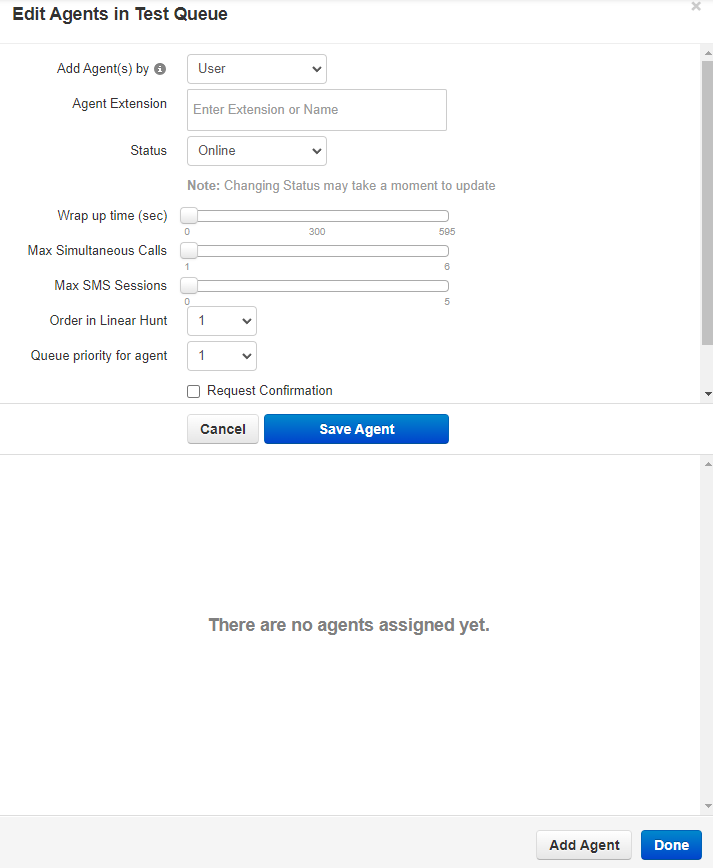
- Add the agent by either User or Phone
- Configure the agent's settings using the menu's options.
Agent Settings
- When the agent is ready to be added, click Save Agent.
- Repeat this process for any additional agents.
- Once all agents have been added, click Done.
Edit an Agent's Settings
To edit the settings of existing agents:
- Hover over an agent, and then click the
 icon at the far right of the window.
 - Adjust the settings in the Edit Agents menu as needed.
- Once the changes have been made, click Save Agent.
Delete Agents
To delete an existing agent:
- Hover over an agent, and then click the
 icon at the far right of the window.
 - When a confirmation prompt appears, click Yes to delete the agent or No to retain it.
- When you finish deleting agents, click Done.
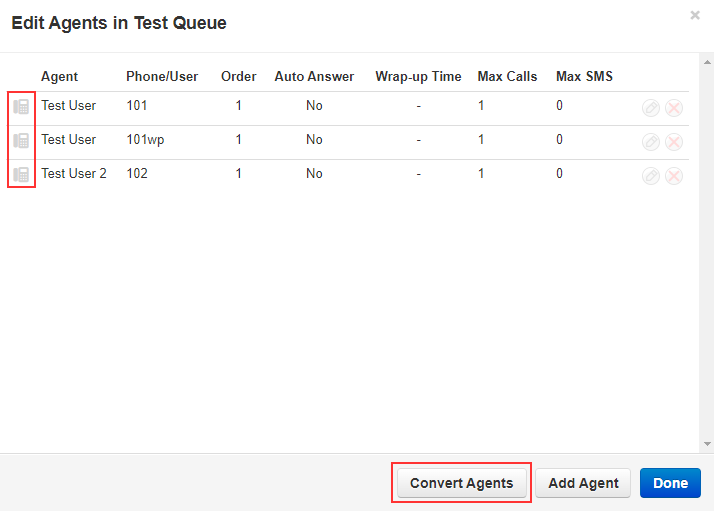
Convert Agents
Using the Convert Agents button can save some time switching an agent from ringing by Phone to ringing as a User like so:
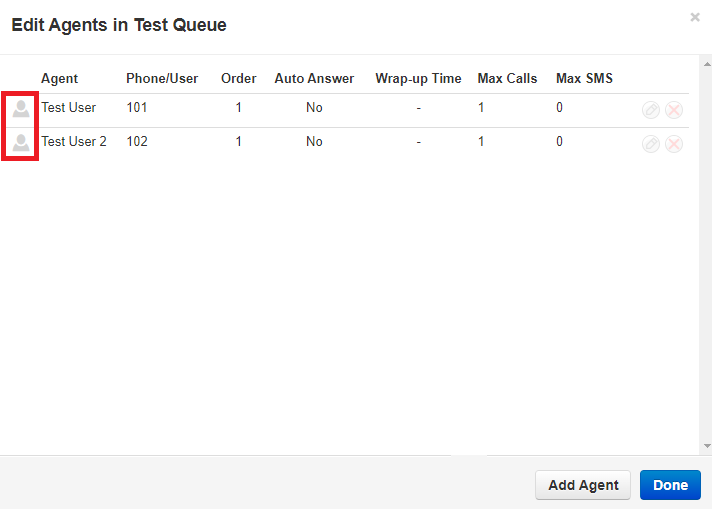
You will notice that in the images above, after converting the agents to Users from Phones, the system removed the web phone (101wp) since 101 will simultaneously ring their web phone now.
Troubleshooting Tip
If you are having issues converting the phones to users, check to make sure the phones that are not converting do not have “#NAME” in their user information as it will not work. You will need to update that user's profile and replace “#NAME” with anything you want without special characters.
Checking the Status of Agents
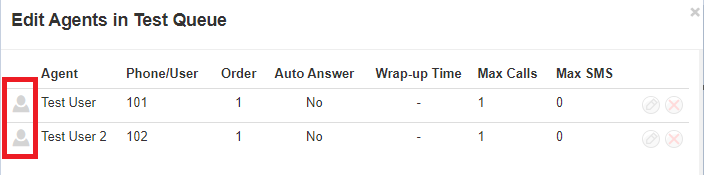
The color-coded status (person icon) will change color depending on the User's status:
- Green = available
- Gray = offline
- Red = on a call