Configure Your App's Network Settings
To ensure your app performs to the best of its ability, you can adjust its network settings.
- Navigate to the Keypad
 tab.
tab. - Tap the Settings
 icon.
icon. - Touch Preferences.
- Select Network.
Allow and Disallow SSIDs
For security reasons, it may be necessary to restrict the Wi-Fi networks the app is allowed to connect to.
To allow certain network SSIDs, use the Allowed SSIDs box to type in those SSIDs. If there are multiple SSIDs, use commas to separate each SSID.
The same can be done to disallow SSIDs from being connected to. To do this, use the Disallowed SSIDs box to type in the SSIDs of untrusted networks.
Set Network Priorities for Media Streaming
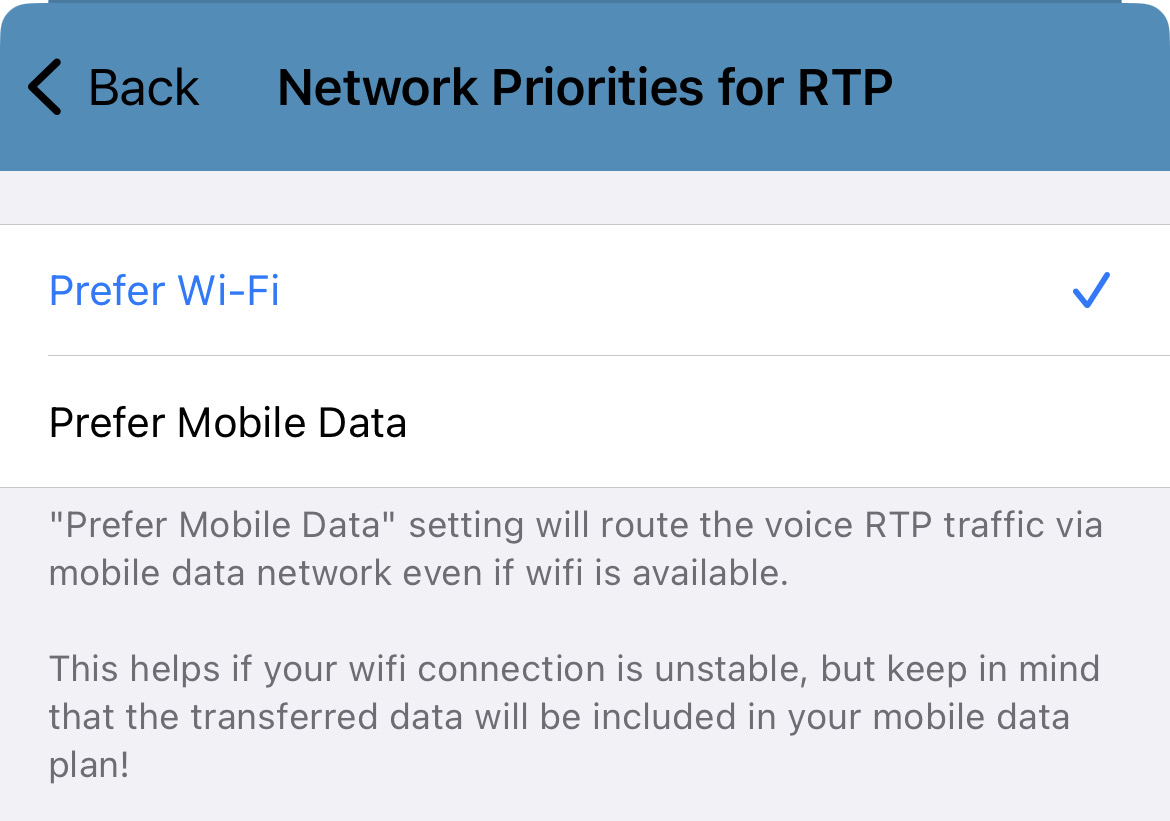
By default, the app will prioritize your connection to a Wi-Fi network for sending communications.

In some situations, it may be essential to have your app set to prefer using mobile data over your Wi-Fi network.
✔ This can be a great solution when there are issues on your Wi-Fi network that may be affecting your calls on your app.
To update the app to prefer your carrier's data network, tap Network Priorities for RTP and select Prefer Mobile Data.

Adjust How the App Handles Network Changes
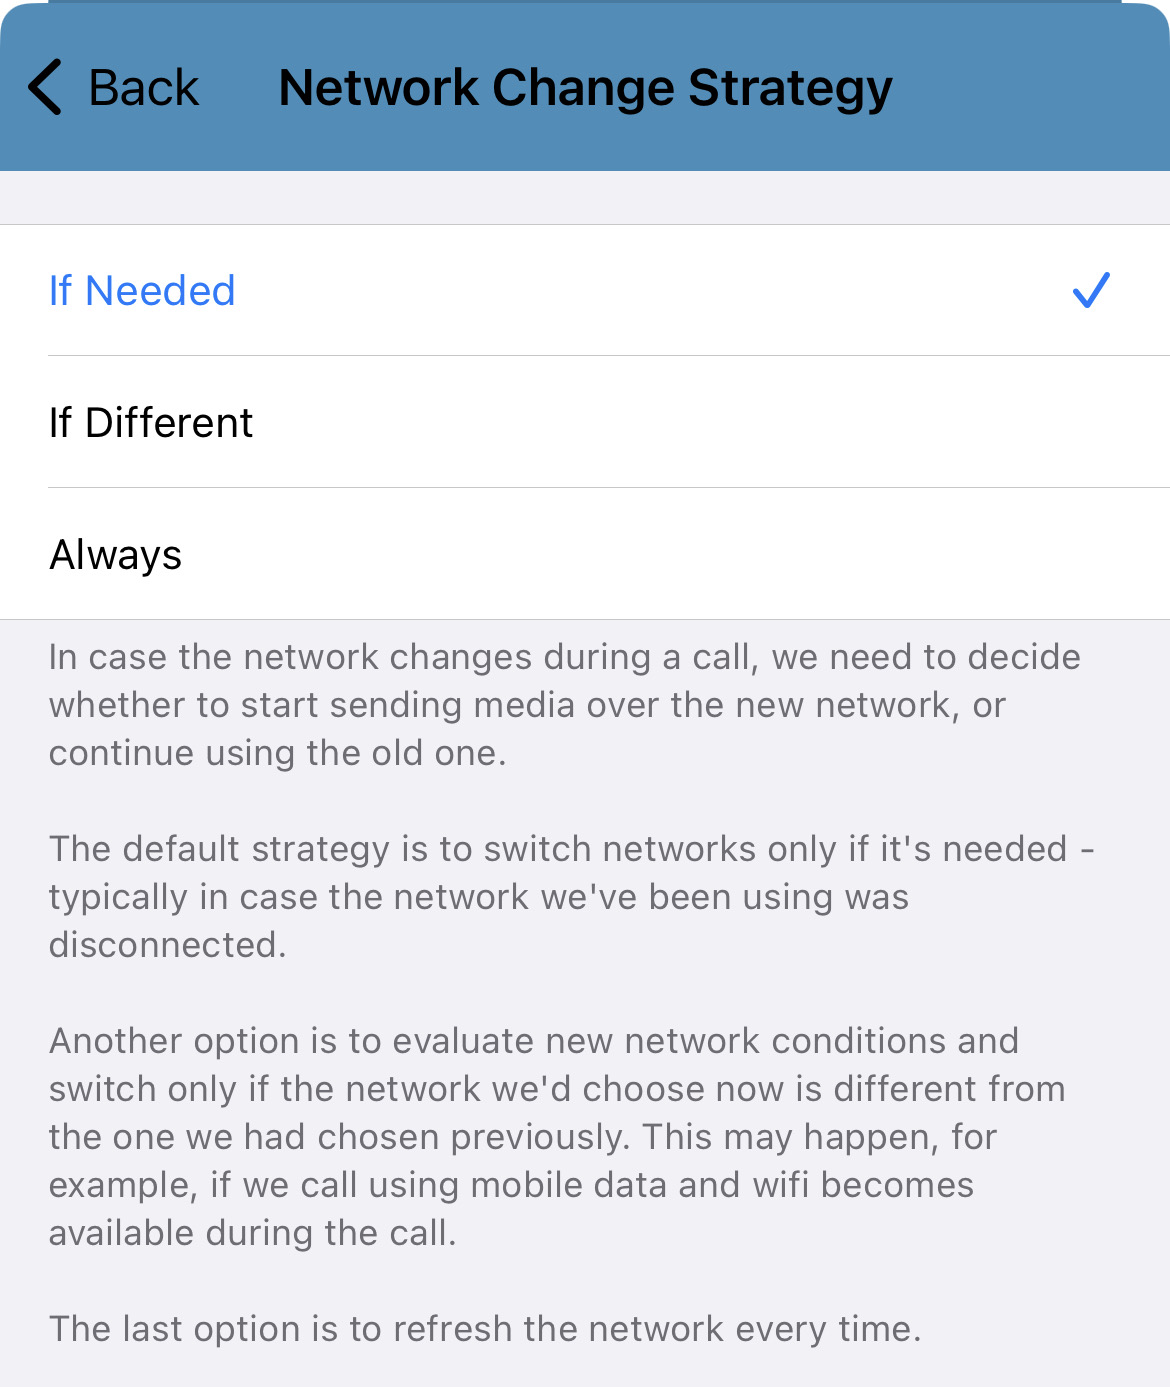
While using the app, a network change may occur that can affect the way media, like your call's audio, is transmitted. By default, your app will opt to refresh itself to send media over the new network if this is needed for situations like an outage.

To adjust this, tap Network Change Strategy and then select either If Different or Always.

- When the app is set to only change which network media is sent over if the network is different, the app will start streaming over the new, different network.
✔ This can be helpful for when your app is on a data network and notices that a Wi-Fi network has become available.
- When the app is set to always update where it sends media, it will automatically refresh the network every time a change is noticed.